Before landlords and property managers can take full advantage of liv.rent’s all-in-one rental management & marketing features, there are a few important items to check off. It can be tempting to jump right in and post your first listing, but investing a bit of time upfront will help boost the number of inquiries you receive and ensure you’re making the most of your liv.rent experience. In this handy Quick Start Guide, we’ll be walking you through three simple steps every landlord should take before posting their first listing. Follow along and you’ll be well on your way to getting your listing rented quickly and safely.
Post unlimited listings for free
Do you need to advertise multiple rental listings? Look no further. Post as many listings as you want on liv.rent – all for free.
1. Complete your profile
The most important first step towards success on liv.rent is to fill in all your personal information and ensure that your profile is 100% complete. As Canada’s safest rental platform, liv.rent is built upon mutual trust & transparency and as such, landlords must provide as much detail as they can about themselves and their rental property.
To establish trust with prospective renters, landlords should complete the following actions:
- Upload a profile picture
- Fill out all the fields in their profile
- Write a short bio
2. Get verified
Once your profile is complete, the next step for landlords is to verify their identity.
This is a fairly straightforward process and once complete, will result in a Verified badge next to your name on your user profile. This badge signals to renters that your identity has been manually confirmed by the liv.rent team, alerting them that you are who you say you are.
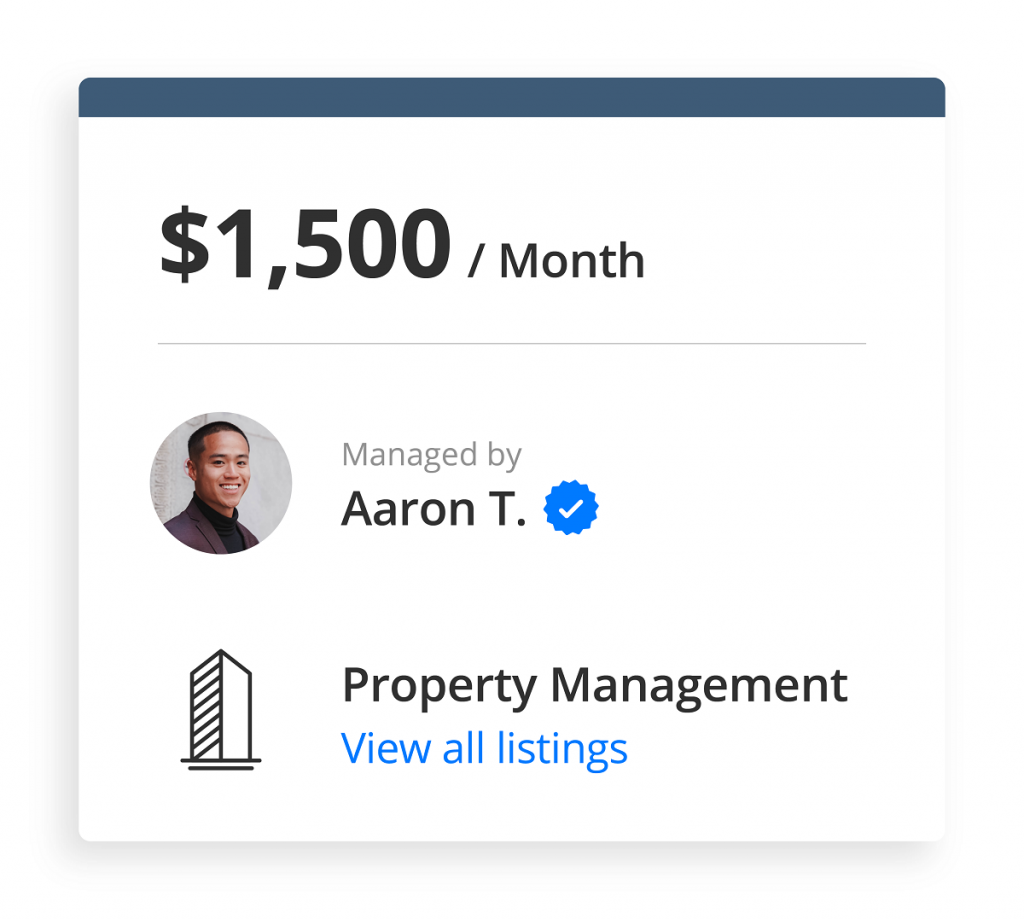
Getting verified on liv.rent is easy and only takes a few minutes of your time. Before you get started, make sure you have a piece of government-issued photo ID handy. This can be a driver’s license, passport, or citizenship/permanent residence card.
Once you’re ready, please follow these steps to get your identity verified:
- Go to your profile and click “Edit”. Scroll to the “Verify Your Identity” section
- Upload a picture of your government-issued photo ID (driver’s license, passport, etc.)
- Next, you’ll be prompted to take a live selfie
- If the name & photo on your ID match your profile and uploaded selfie, you will receive your verification badge
PRO-TIP: All published listings with unverified profiles are hidden within a week, so make sure you verify your profile!
You can find a detailed guide to liv.rent’s verification processes, including how to verify your business license (if applicable) in a detailed post here.
How does liv.rent protect my data?
Your government-issued ID and any authentication information requested during liv.rent’s verification process will be automatically securely removed from our system once your profile has been verified. This ensures that none of your data will be made public at any point.
>> Recommended Reading: Your guide to liv.rent’s verification process
3. Research rent prices
Did you know that liv.rent creates monthly Rent Reports for major rental markets across Canada? We currently publish reports for Vancouver, Toronto, Montreal, and Calgary & Edmonton with detailed breakdowns of average rent prices in each area.
Before creating your listing, it’s a good idea for landlords to look at the latest Rent Report for their area to gauge current asking prices. Pricing your listing in line with market trends ensures that you get plenty of inquiries without losing out on potential profit from pricing your unit too low.
>> Recommended Reading: BC Tenancy Act
Tips for a successful listing
1. Share your listing
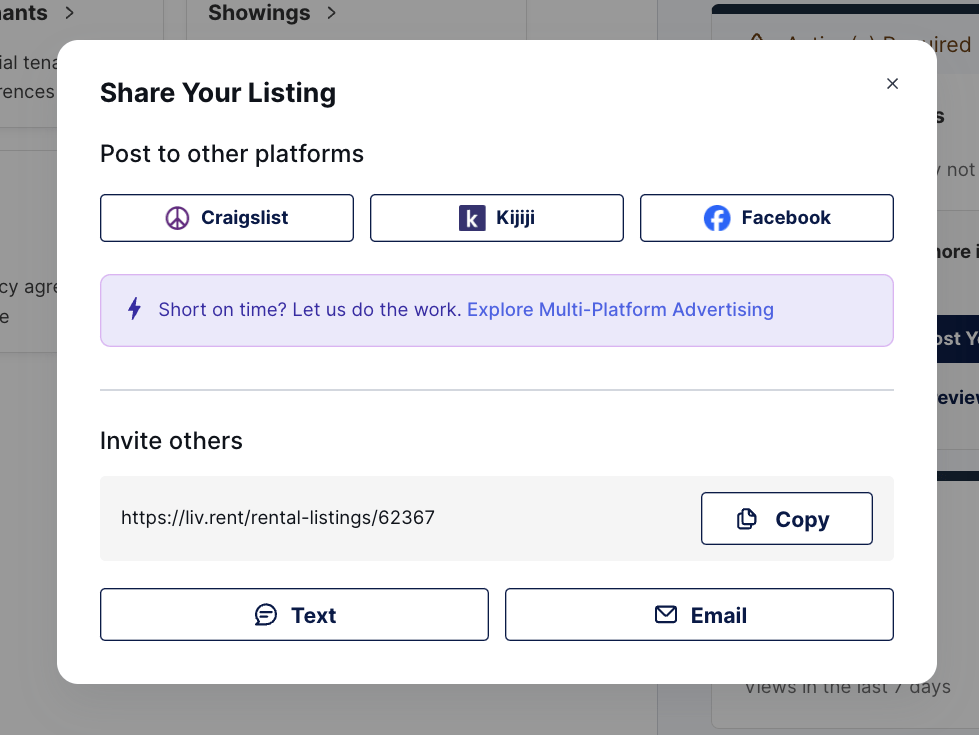
The easiest way for landlords to get their listing rented faster is by taking advantage of liv.rent’s built-in sharing feature.
From your Listing Dashboard on the left-hand side of your screen, simply click “Share” and you’ll see options for sharing to various platforms. From there, simply select the platform you’d like to share it to and follow the instructions to quickly and easily share your listing to Craigslist, Kijiji, and Facebook Marketplace.
2. Make liv.rent your rental hub
Once your listing has been created and shared, we recommend treating liv.rent as your rental “hub” where you can direct interested renters to apply. When you share a listing to other platforms, the template will contain a link to your liv.rent listing where tenants can submit their applications directly, thus saving you from sorting through different inboxes for important messages.
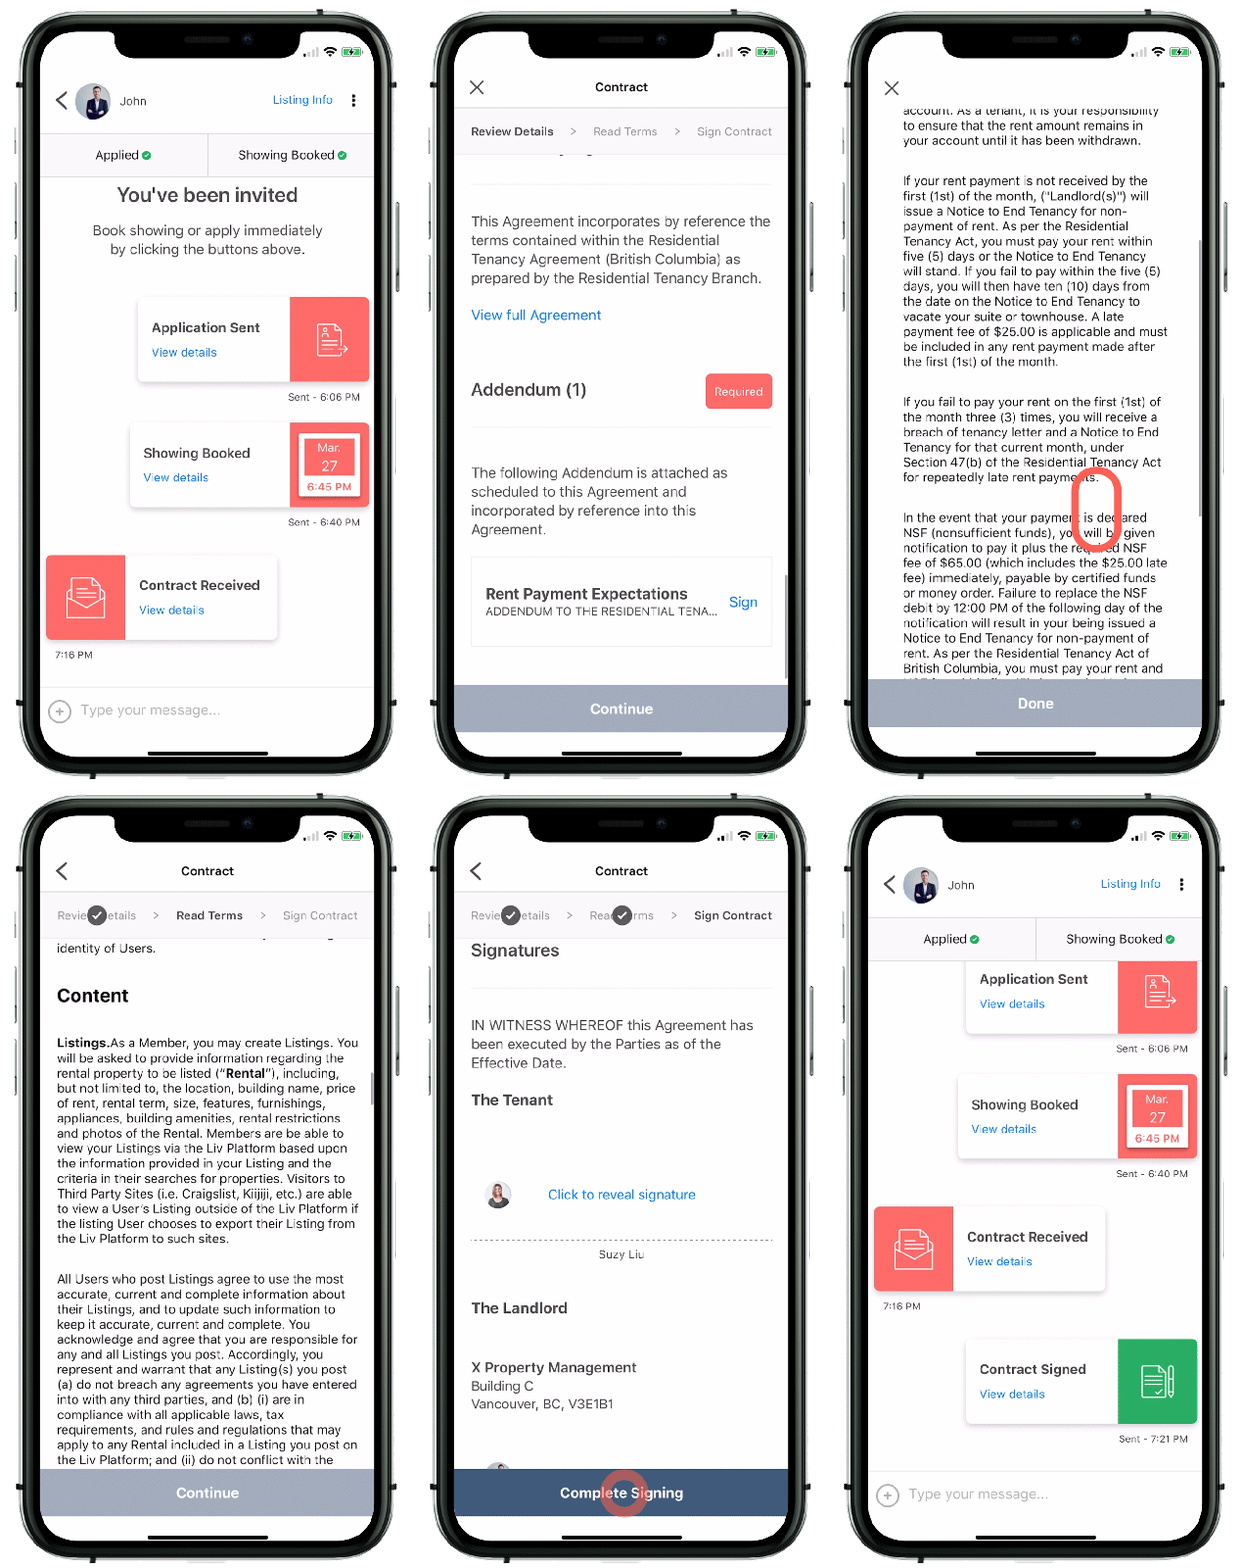
On liv.rent, you can chat with tenants directly, receive applications, screen tenants with the Trust Score, sign digital contracts, process rent payments, and much more. Combined with liv.rent’s verification features for renters, this strategy ensures a smooth and safe rental process from start to finish.
>> Recommended Reading: Landlord Success Story: How To Rent Out An Apartment In 10 Days
3. Screen tenants with the Trust Score
One of liv.rent’s most powerful tools for landlords is the Trust Score – our built-in tenant screening tool. This comprehensive report goes beyond credit checks to give a complete picture of applicants’ rental and financial history, allowing you to find the right renters faster, without the guesswork.
Using Equifax® credit information and verification documents, the Trust Score generates a score out of 100 for applicant profiles, with a detailed report available to unlock through add-on credits. The report is broken down into four main sections: Credit Summary, Risk Assessment, Trustworthiness, and Income-to-Rent Ratio. Landlords can use these metrics to evaluate renters and shortlist
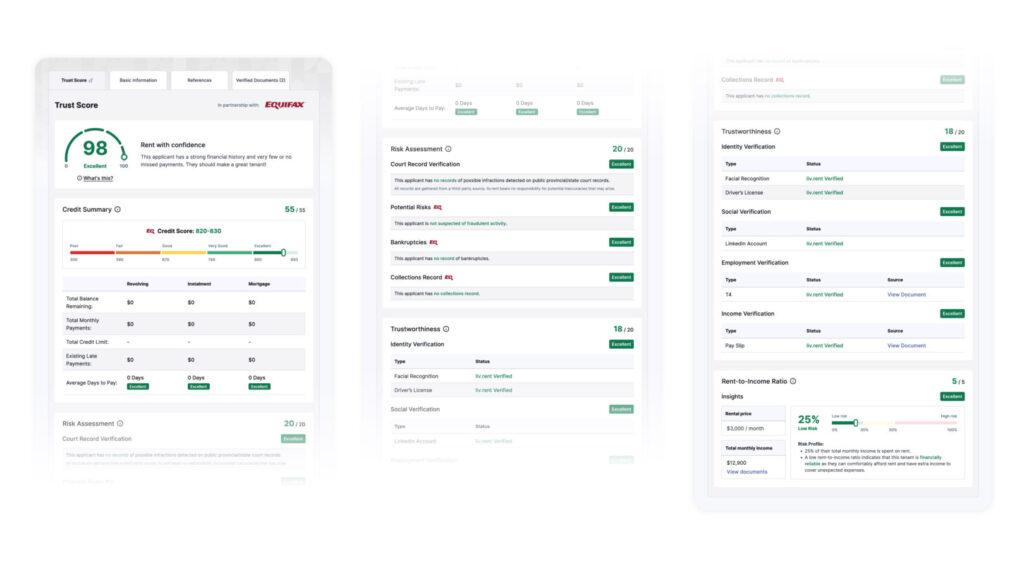
When tenants apply to their listings, landlords can purchase individual Trust Score reports for $16.99 per report, or upgrade to either the Growth our Business plan to automatically unlock included reports each month.
How to unlock the Trust Score
The Trust Score is available even for tenants applying from outside of liv.rent. All landlords need is a verified profile to generate Trust Score reports – no liv.rent listing or tenant application is required.
Follow the steps below to unlock Trust Score reports for tenants applying both from within and outside of the liv.rent platform:
- For liv.rent renters
- Create a liv.rent listing
- Ensure that both your ID and listing are verified
- Once you receive an application from a renter whose Trust Score report you’d like to view, click “Unlock Trust Score”
- Redeem a Tenant Screening Report credit or complete payment to unlock the full Trust Score report
- For tenants outside of liv.rent
- Sign up for a liv.rent Landlord account
- Verify your ID
- Navigate to the “Trust Score” tab on left-hand side of your Landlord Dashboard while logged in
- Follow the prompts to submit the applicant’s information and complete payment
Watch the video below for a step-by-step guide on how to unlock the Trust Score for tenants not on liv.rent
>> Recommended Reading: The Trust Score: Explained For Landlords And Renters
Rethink The Way You Rent
Not on liv.rent yet? Experience the ease of digital applications & contracts, verified tenants & landlords, virtual tours and more – all on one platform. Sign up for free or download the app.
Subscribe to receive the latest tenant & landlord tips and get notified about changes in the Canadian rental market.
>> Stay up-to-date on the average rent in Vancouver, Toronto and Montreal: Rent Reports.


0 Comments